Today laptops are fast replacing desktops as the computer of choice. Because of their size and light build they require a little more care than their robust, sedentary brothers. Smaller cords and displays on hinges are just two of the differences that need special attention. Follow these points to keep your laptop younger longer and avoid some of the most common laptop pitfalls.
Travel Care
Planning to use your laptop on a business trip? Car or boat, camel or plane, it needs a good travel bag. You need one that provides protection and at the same time allows easy access on the run. Be sure to take care of this need before the last minute. Decide whether you’re going for a case that houses only the laptop or if you will be looking for a general carry-on bag with a laptop compartment.
Above all, DO NOT check your laptop with your luggage. That guarantees it will be damaged or stolen. Luggage is being handled so roughly these days that I think they can actually break shirts and shoes without any effort. Don’t laugh, the last time I went to Jamaica my wife showed me where they had damaged a small buckle on one of her shoes. Breaking a shirt isn’t that much harder.
Be sure when choosing a bag that it’s easy to remove the laptop during security checks. While some airlines will now allow the laptop to stay in its laptop-only bag, you will definitely need to remove it for “carry-on luggage†inspection. Before bagging your laptop be sure it is turned off.
Insure your laptop by adding it to your homeowner’s policy. Many policies will allow for replacement if it’s lost or stolen. There are also policies available strictly for the purpose of insuring laptops. The one I see most often is Safeware Insurance Agency Inc. Knowing that the cost of some laptops can reach $3000.00, spending $75.00 a year doesn’t seem unreasonable. The $3000.00 doesn’t even take into consideration the value of the data included or the risk of losing personal information. Stealing laptops has become a business so don’t become a part of someone’s inventory.
Cleaning
Keyboard
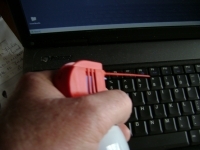
I like to start cleaning with the keyboard. It’s usually jam-packed with chips and bits from evening snacks along with pieces of whatever small winged warriors have managed to make their way to my desk lamp, singe themselves, and fall into the keys. I begin the cleaning process with some canned air. It’s available from all computer and electronic stores as well as hardware and office supply stores. I’m always very careful not to point it towards the display or my eyes, probably due to some over protective quip from my parents about putting my eye out years back.
It’s amazing how much junk can gather between the keys. Unless your spouse is gone don’t do this indoors or it will result in immediate foot stomping and loud accusations about your sanity. As long as “the spouse” isn’t around you should be able to scatter most of it into the carpet where it won’t be seen, or just ignore it and if “the spouse” notices the debris just shrug and act stupid. I do that alot.
This is also a good time to blow out any open ports and vents. Laptops are especially sensitive to heat and the vents are much smaller than those on desktops. It doesn’t take long before they’re clogged with dust and pet hair. Check them often.
Screen
To clean the screen I use plain water and in fact I try to use distilled water because it has no salts. I usually just use bottled drinking water. I’m sure to only moisten the cloth so no water drips down onto the computer and I also never use paper towels because of the lint. In addition to the drips and lint caution, be sure you don’t use too much pressure on the display, it’s just not necessary.
Outer Case
After the screen I take my cloth and dip it in a 50/50 mixture of water and rubbing alcohol. Again I’m sure to just use a moist cloth and not one that can release the mixture into the cracks and keys of the computer. I clean the outside plastic and the keys with this to remove any dirt, oil, or chunks of chili. The alcohol works as a solvent to remove stubborn grease and oils and also helps with evaporation so that moisture is not a problem. This is where using distilled water is important so there are no water spots from the cleaning.
Battery Maintenance
Despite volumes being written there is really not much to do for battery maintenance. The most important thing to know is that if you’re going to be using your homes AC power source remove and store your battery in a cool dry location. The temp should be between 50-75F. This will spare the battery being exposed to high operating temperatures and will extend its life.
It’s not necessary to fully charge the battery before storing. There is no definitive proof that having a full charge or a slightly reduced charge is good or bad for storage. Even the concept of “memory effect” is currently under question as regards laptop batteries. Be aware that your battery will lose some of its charge during storage and most authorities believe that more than one charge and discharge cycle might be necessary to bring the battery back to it’s full potential. If you store the battery for many months you might want to consider cleaning the contact points with alcohol but I don’t think that’s necessary unless you keep it in an extremely humid environment. Be sure your contact points do not come in contact with metal during storage.
Upgrades and Fixes
Hard Drives
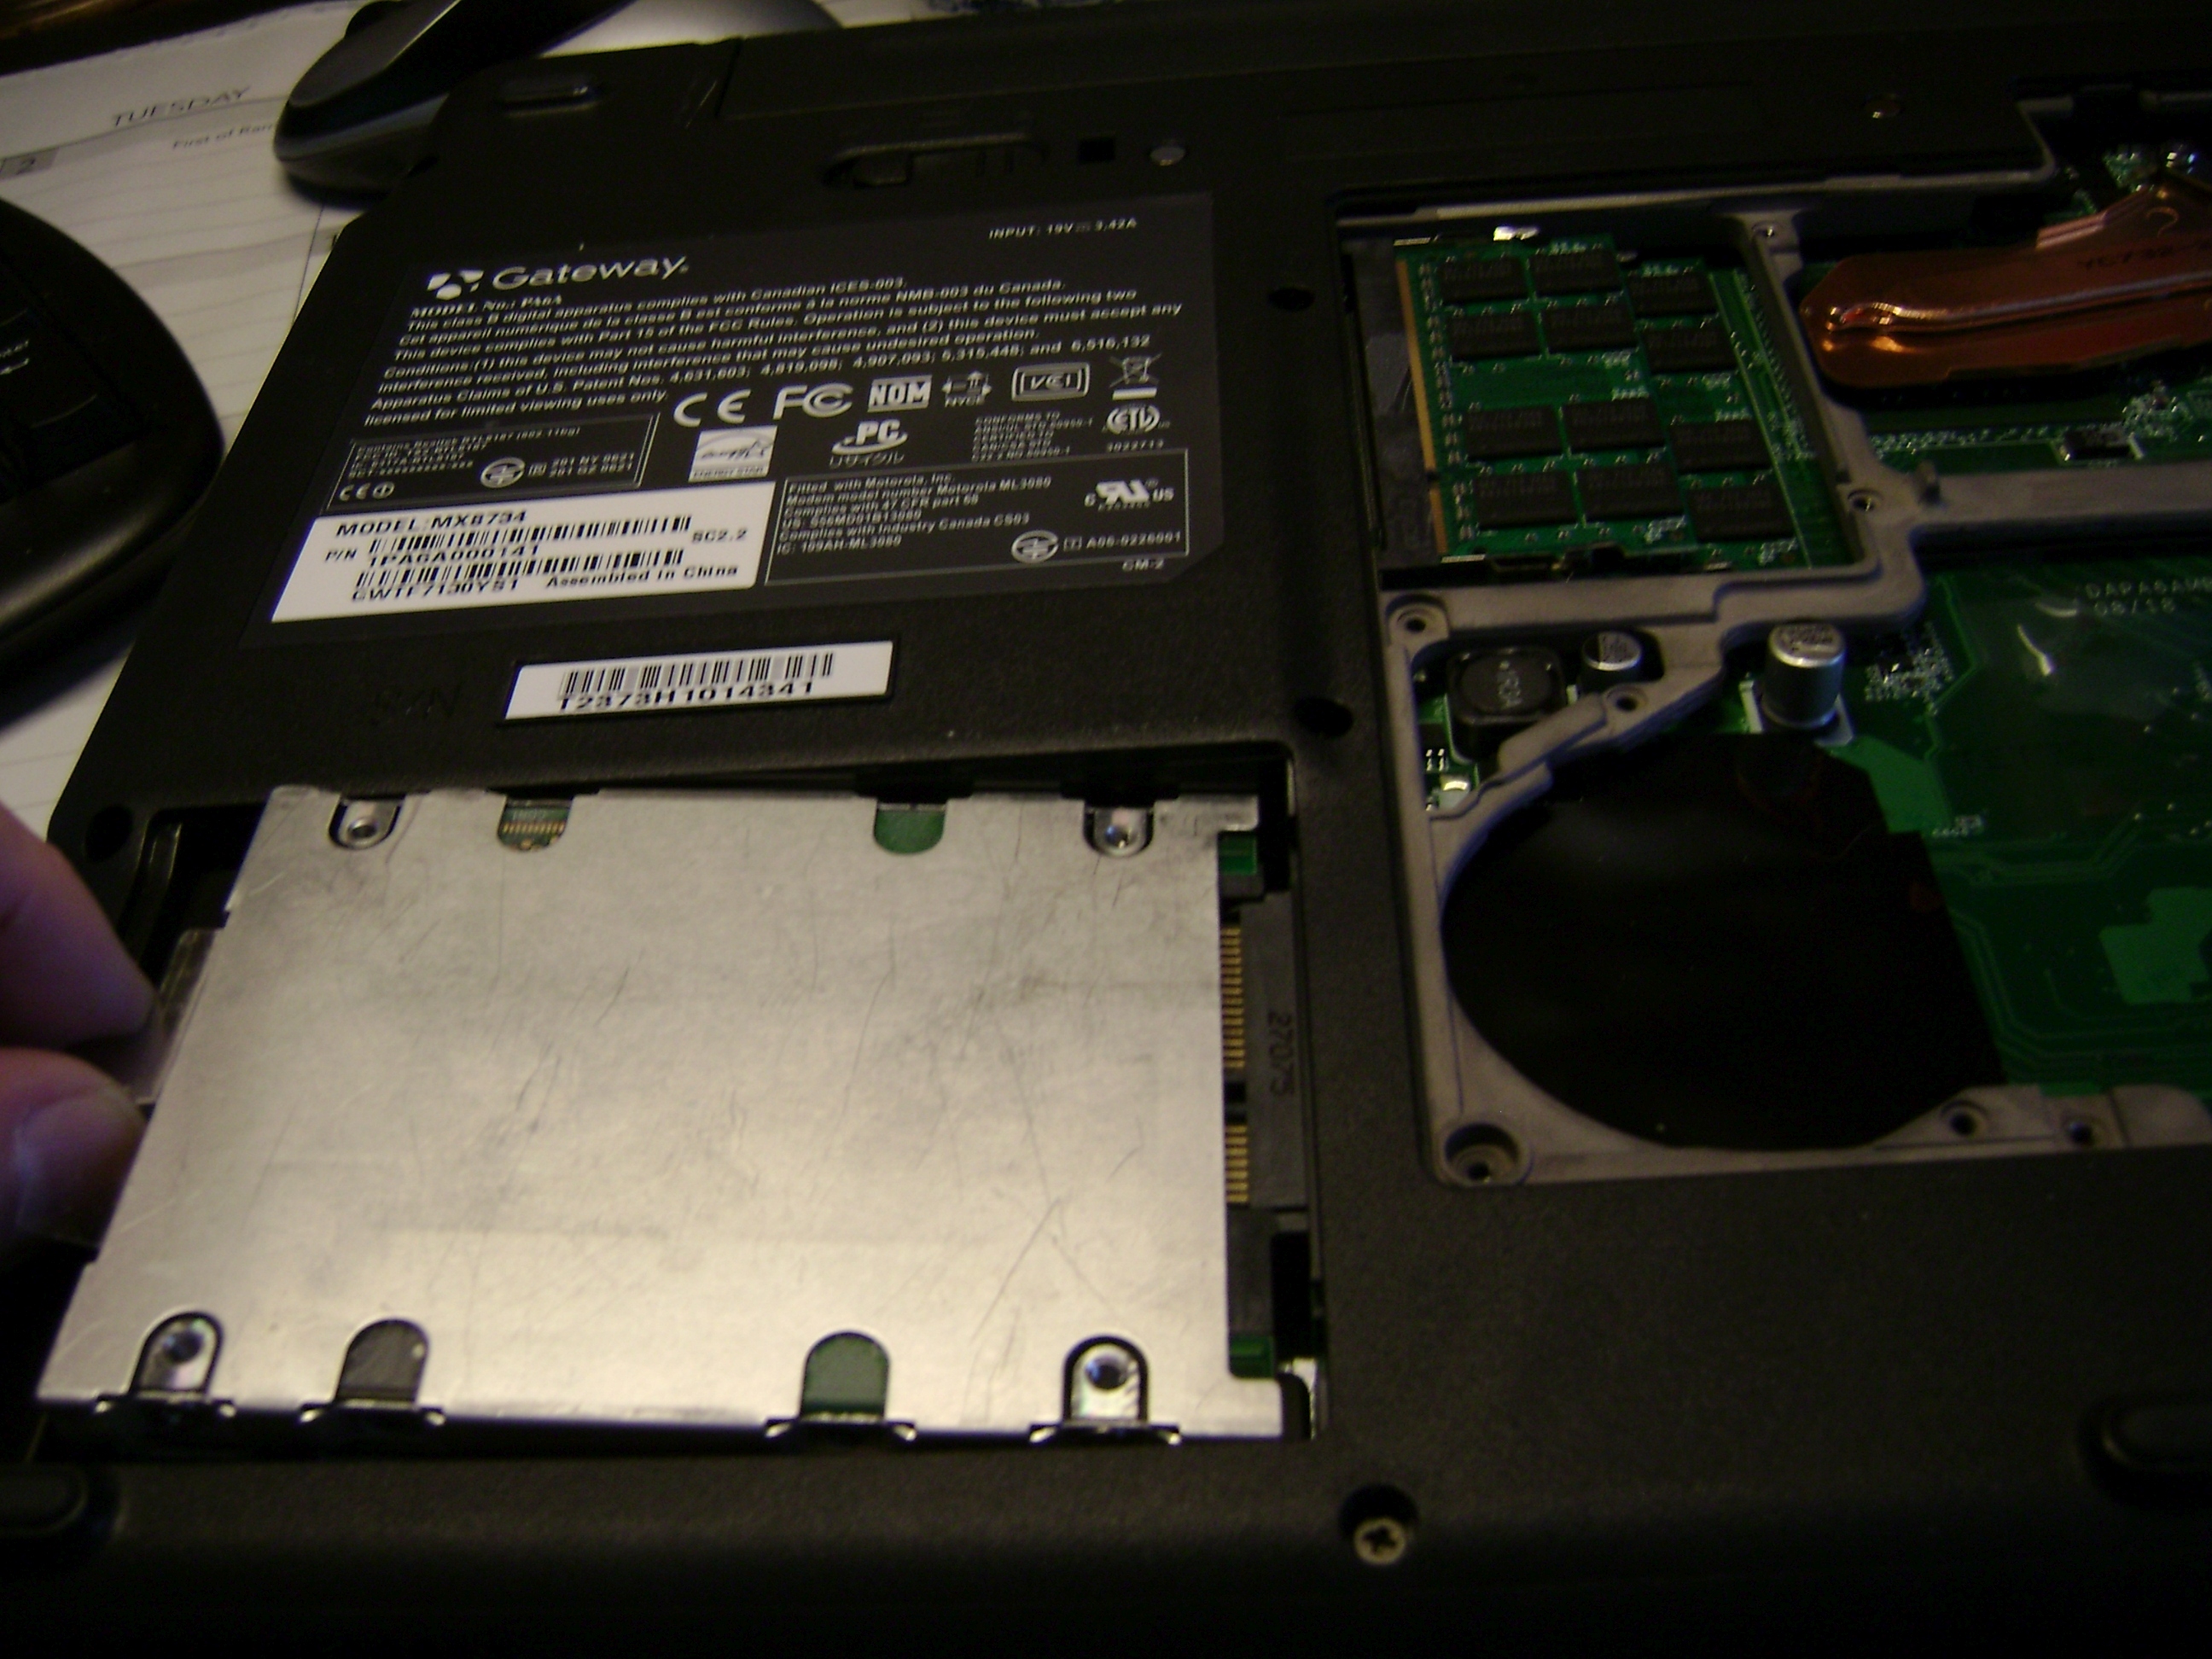
Laptop or desktop, the most likely part to fail is your hard drive. Physically 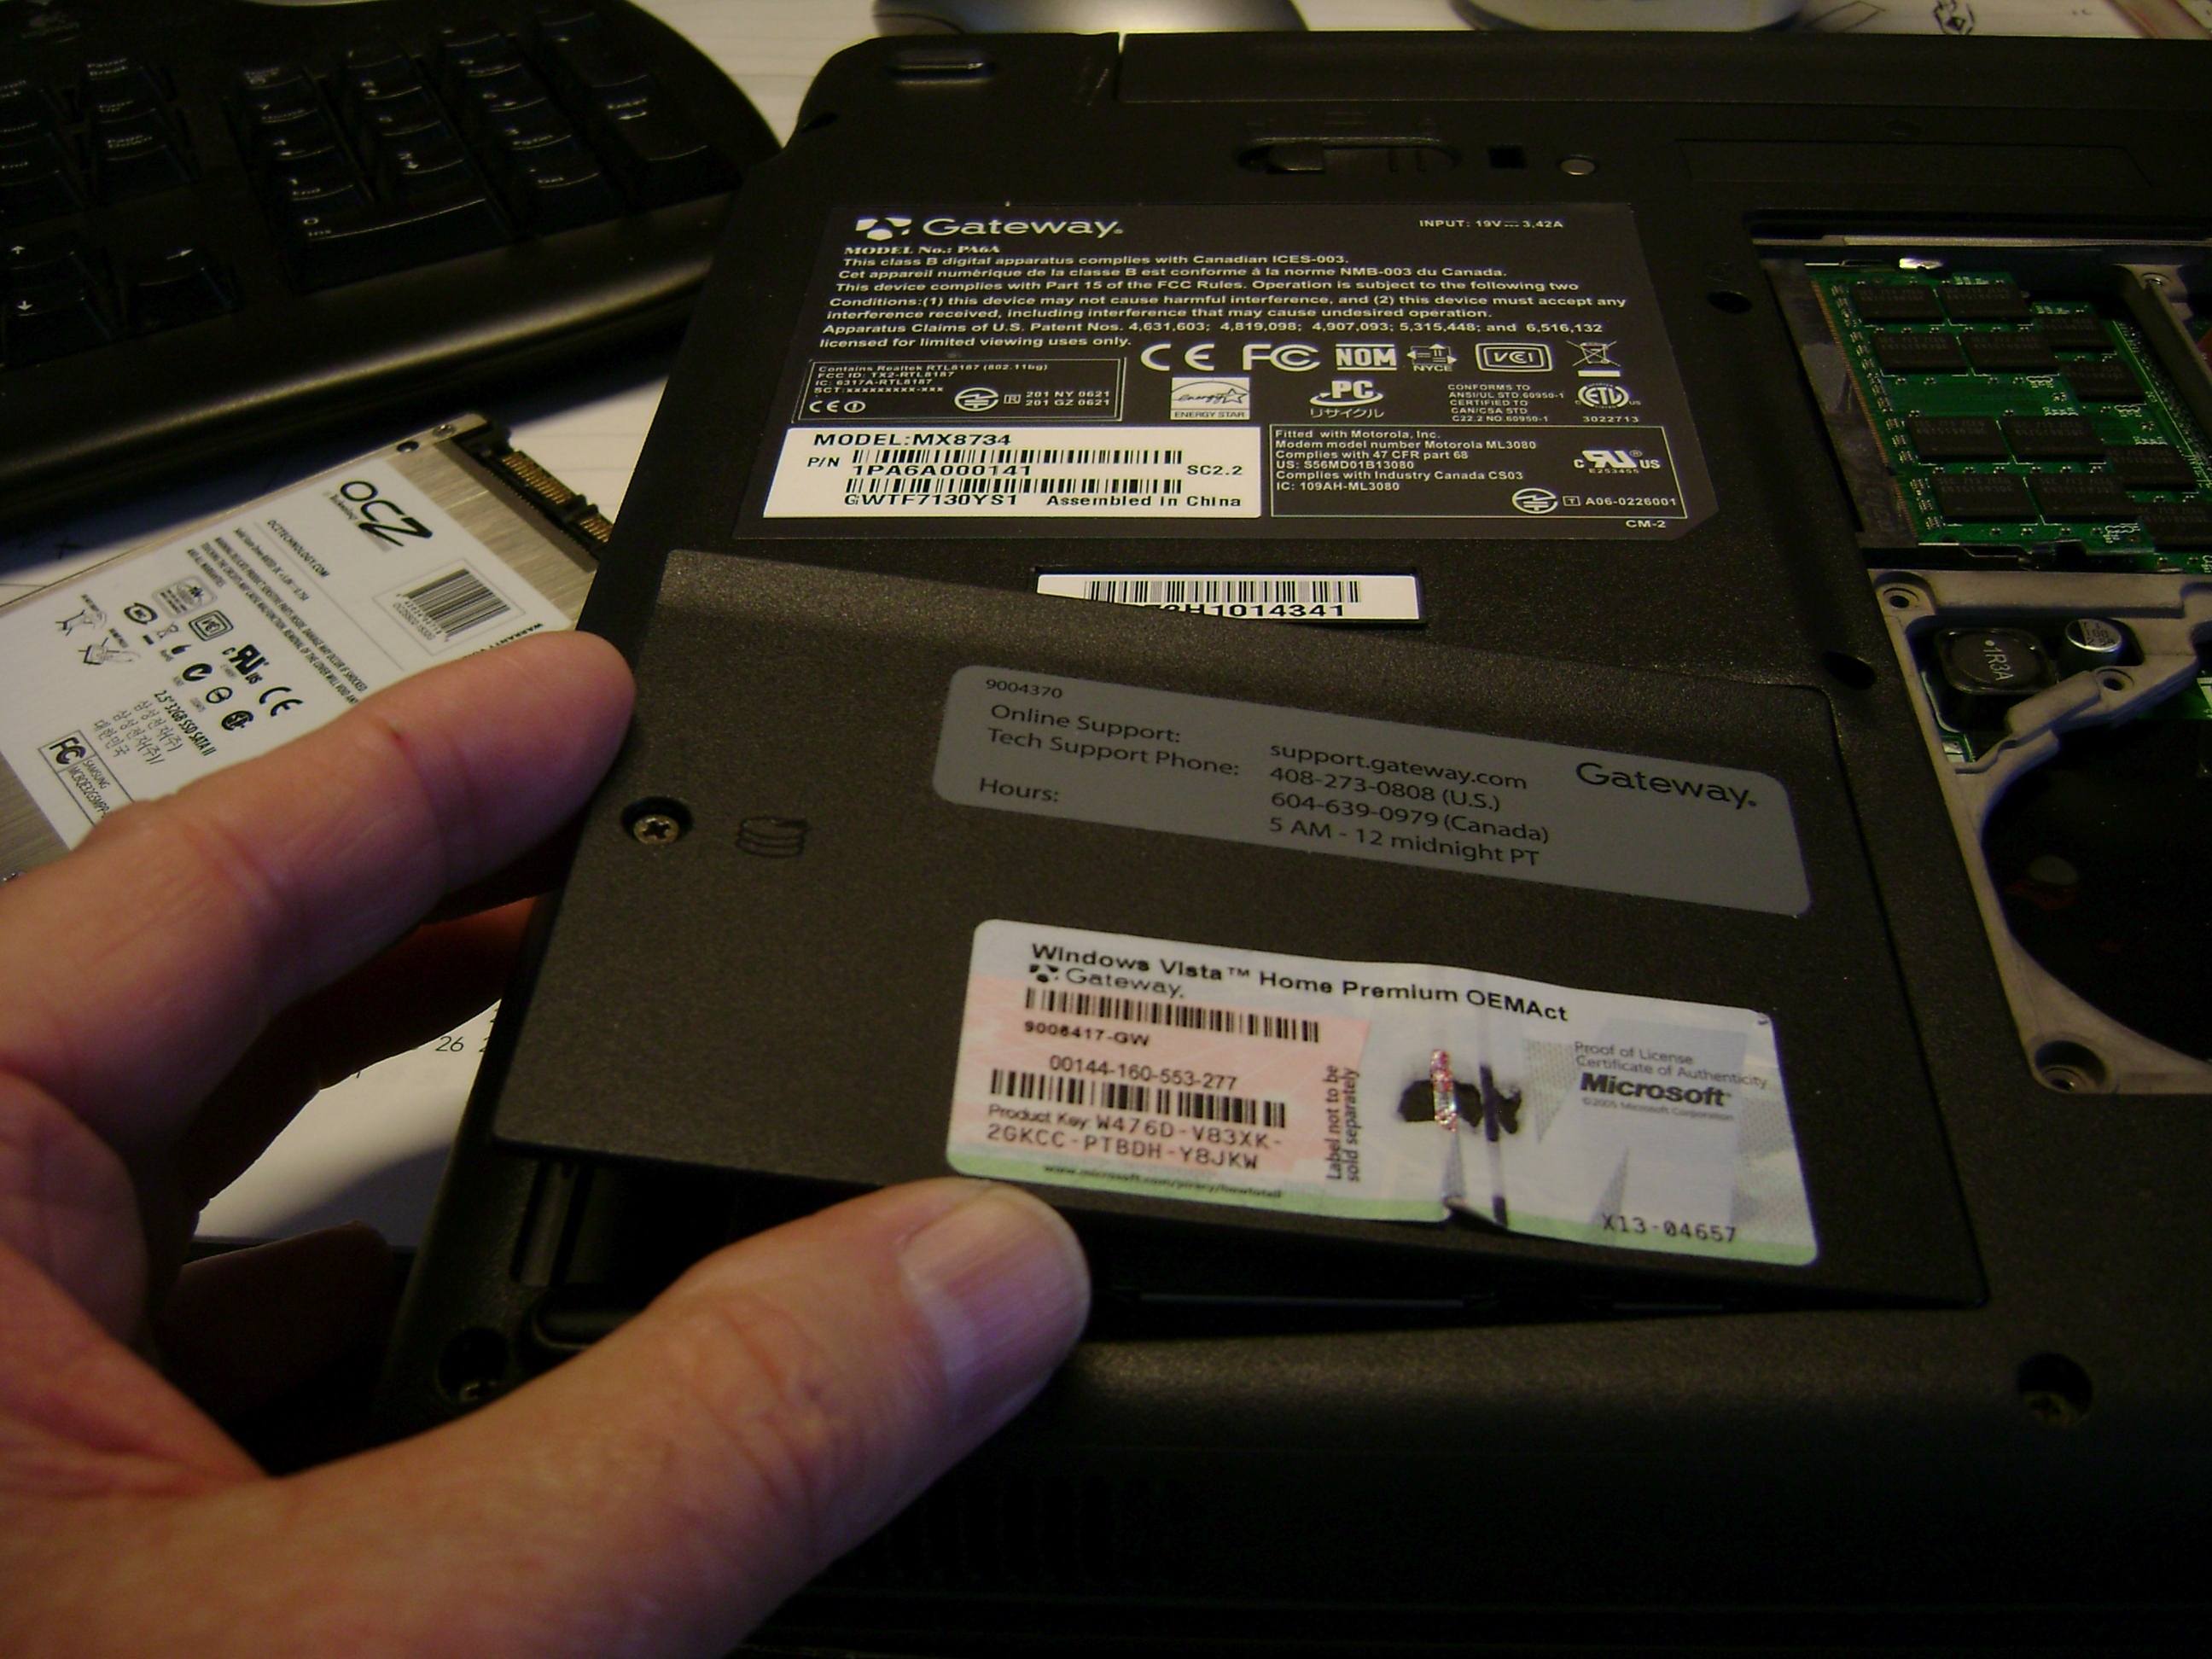 changing the hard drive is simple. I’ve taken pics of the process to show how the drive slips into place and how easy it is to replace with one of the new SSD drives that are available now or with a replacement laptop hard drive.
If there is no catastrophic hardware failure and you are only upgrading, it’s an easy matter to clone your old drive over to the new drive. Any program similar to Acronis True Image or even the old Norton Ghost will work. You can probably find a Free Trial of Acronis True Image Home on line. I’ve had the paid version for a couple of years now and love it. I use it to back up my drive every week. If you’re feeling lost with this process just visit our Help Forum and other members will gladly guide you through it. It’s free and well known for the level of help offered. It’s where I went 9 years ago when I got my first computer.
If you are not cloning your drive you will need your laptops installation disk. Hopefully this came with your purchase along with the Product Key or you will need a retail version of Windows and the correct drivers on a floppy. During the installation be sure to supply the chipset drivers at the F6 command/request. If you don’t, you may find that the laptop does not see your hard drive after the Windows installation.
Memory
Replacing or adding memory is even easier than replacing the hard drive and is still the best bang-for-the-buck upgrade you can perform. If your computer is acting sluggish even after performing the normal clean up and it’s free of malware, it probably needs more memory. Just be sure to get the correct memory from your supplier. Once you’ve removed the outer cover on the back of your laptop you will see the memory modules sitting in plain view.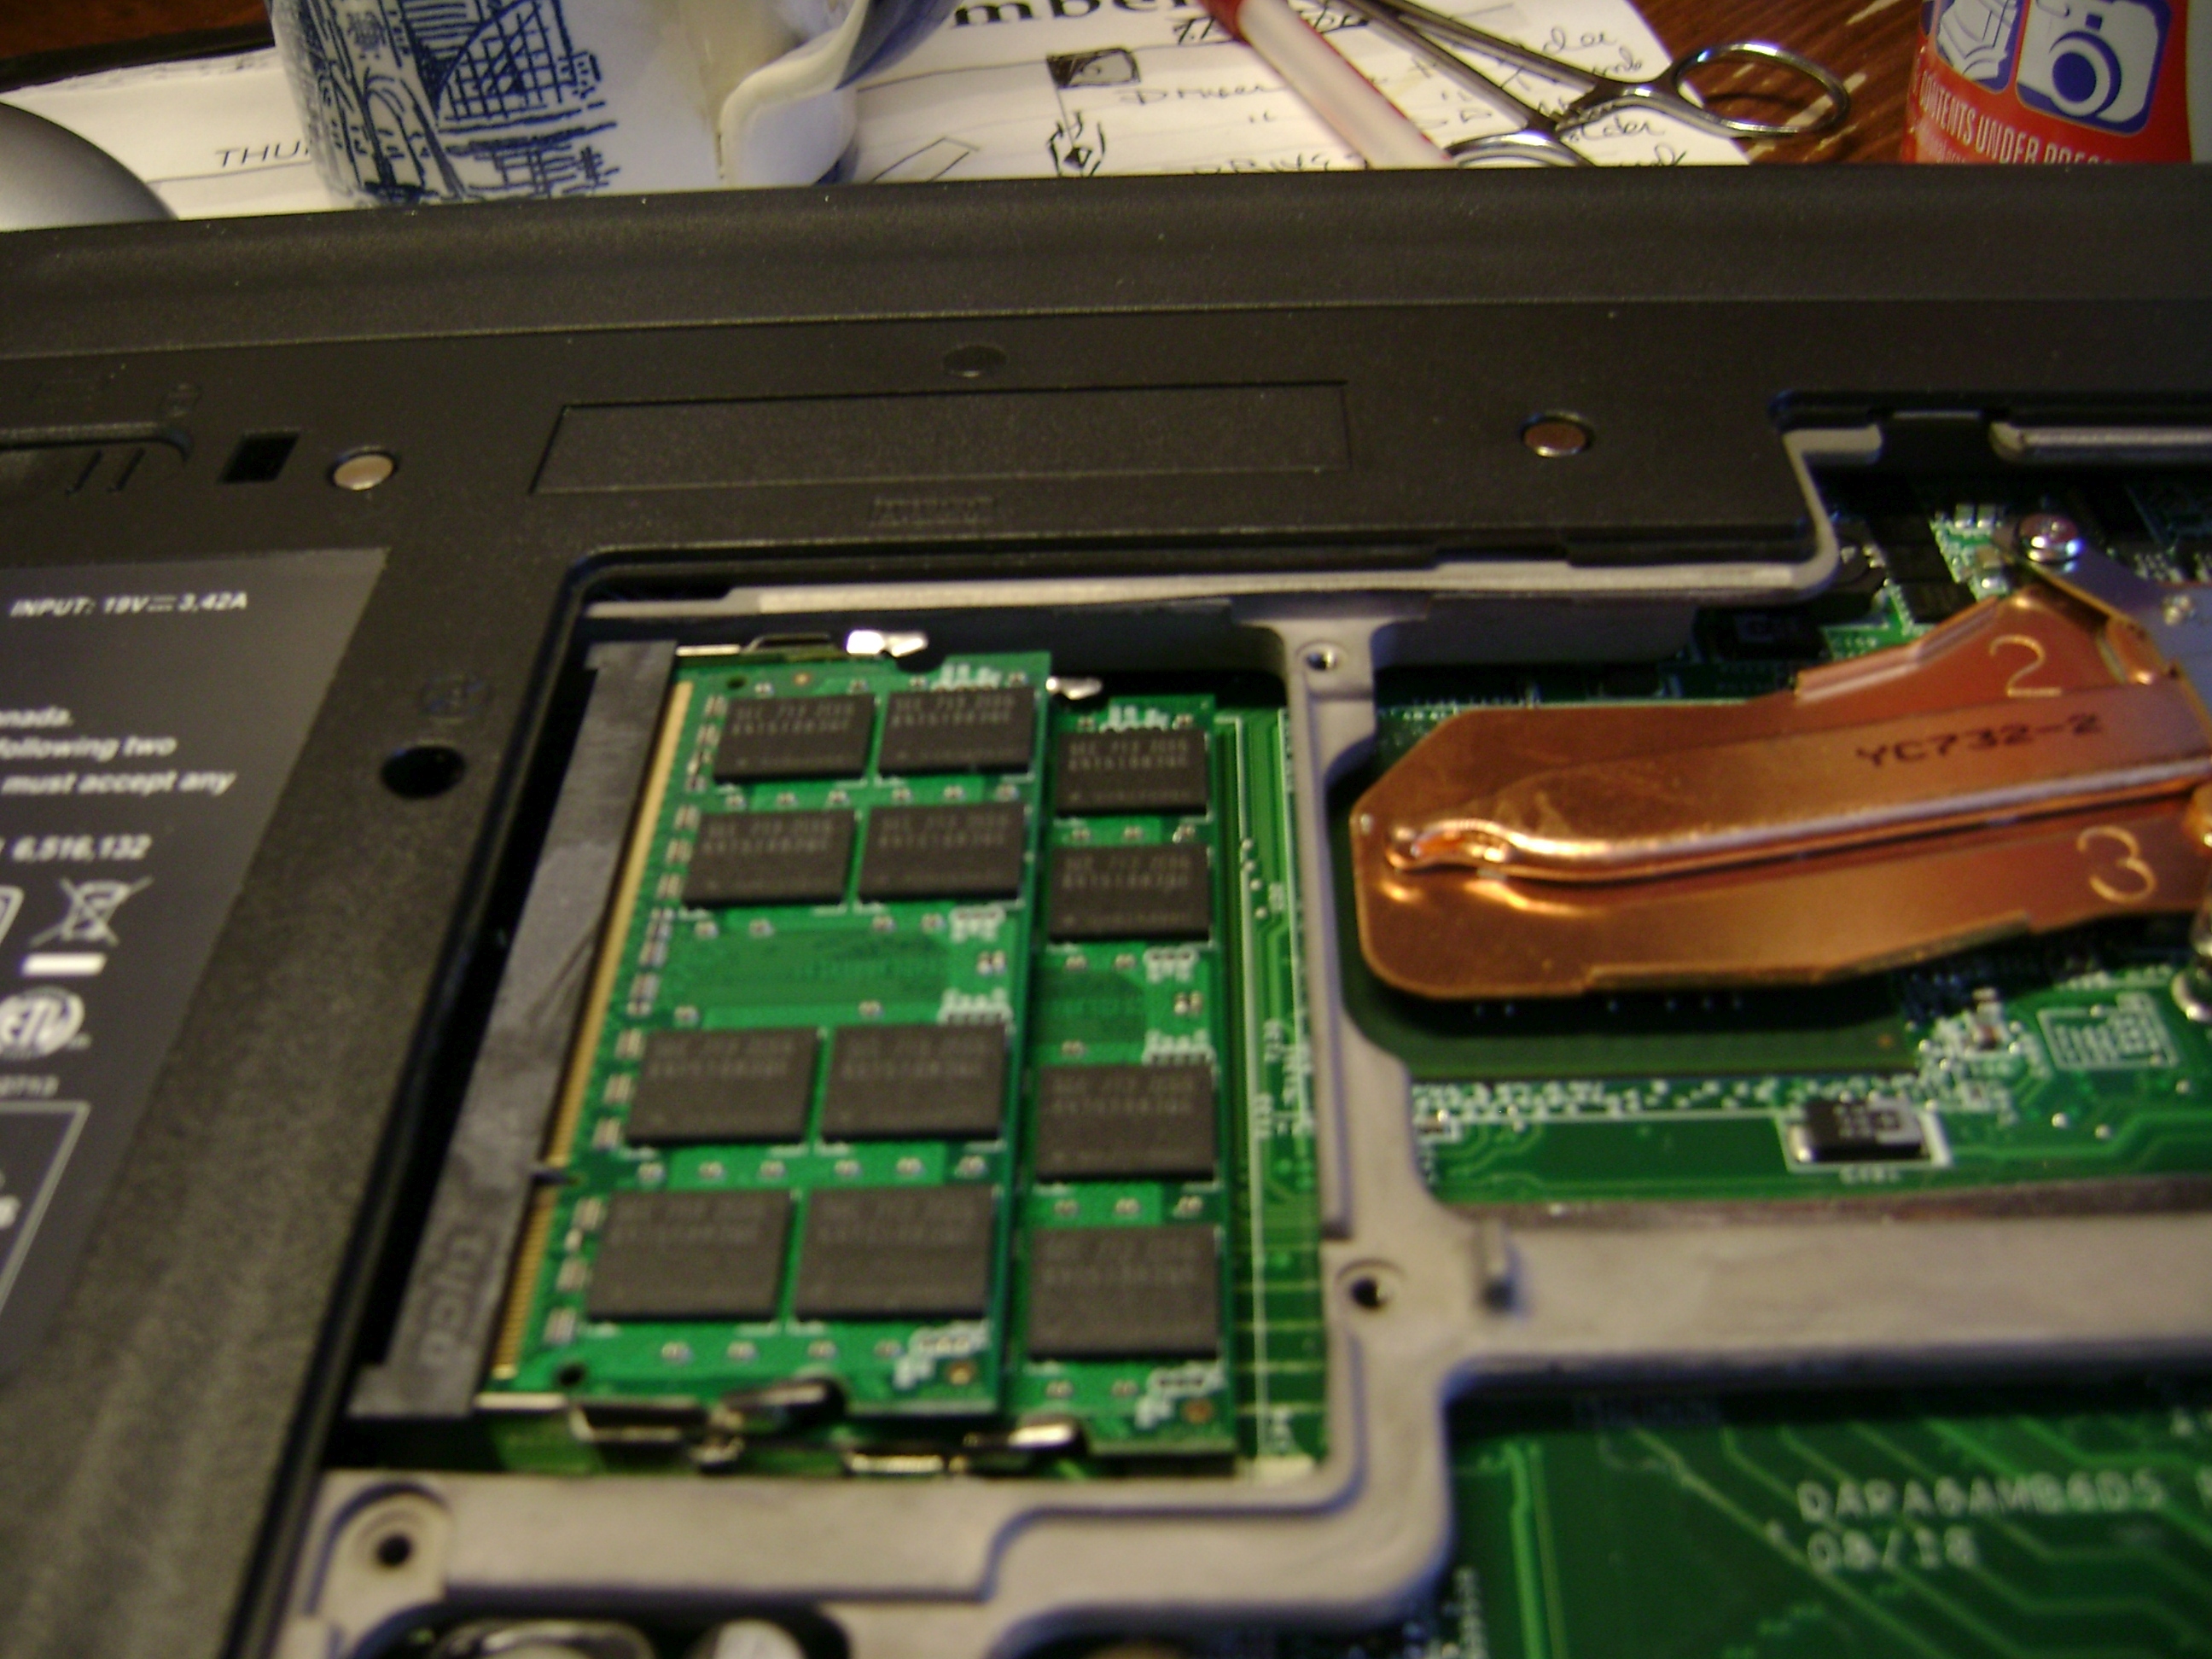 Most have a clip or clips along the side that release the memory when depressed. This will allow you to easily remove the modules. I’ve shown the memory sticks in both positions and a pic. is worth a thousand words so I’ll for-go the confusing instructions. HELPFUL VIDEO
On this laptop the memory springs upwards once both clips are depressed. The bottom module works in the same manor. To return the modules to their original position just press into place starting with the bottom stick. Remember there is no reason to force anything and very little pressure is necessary.
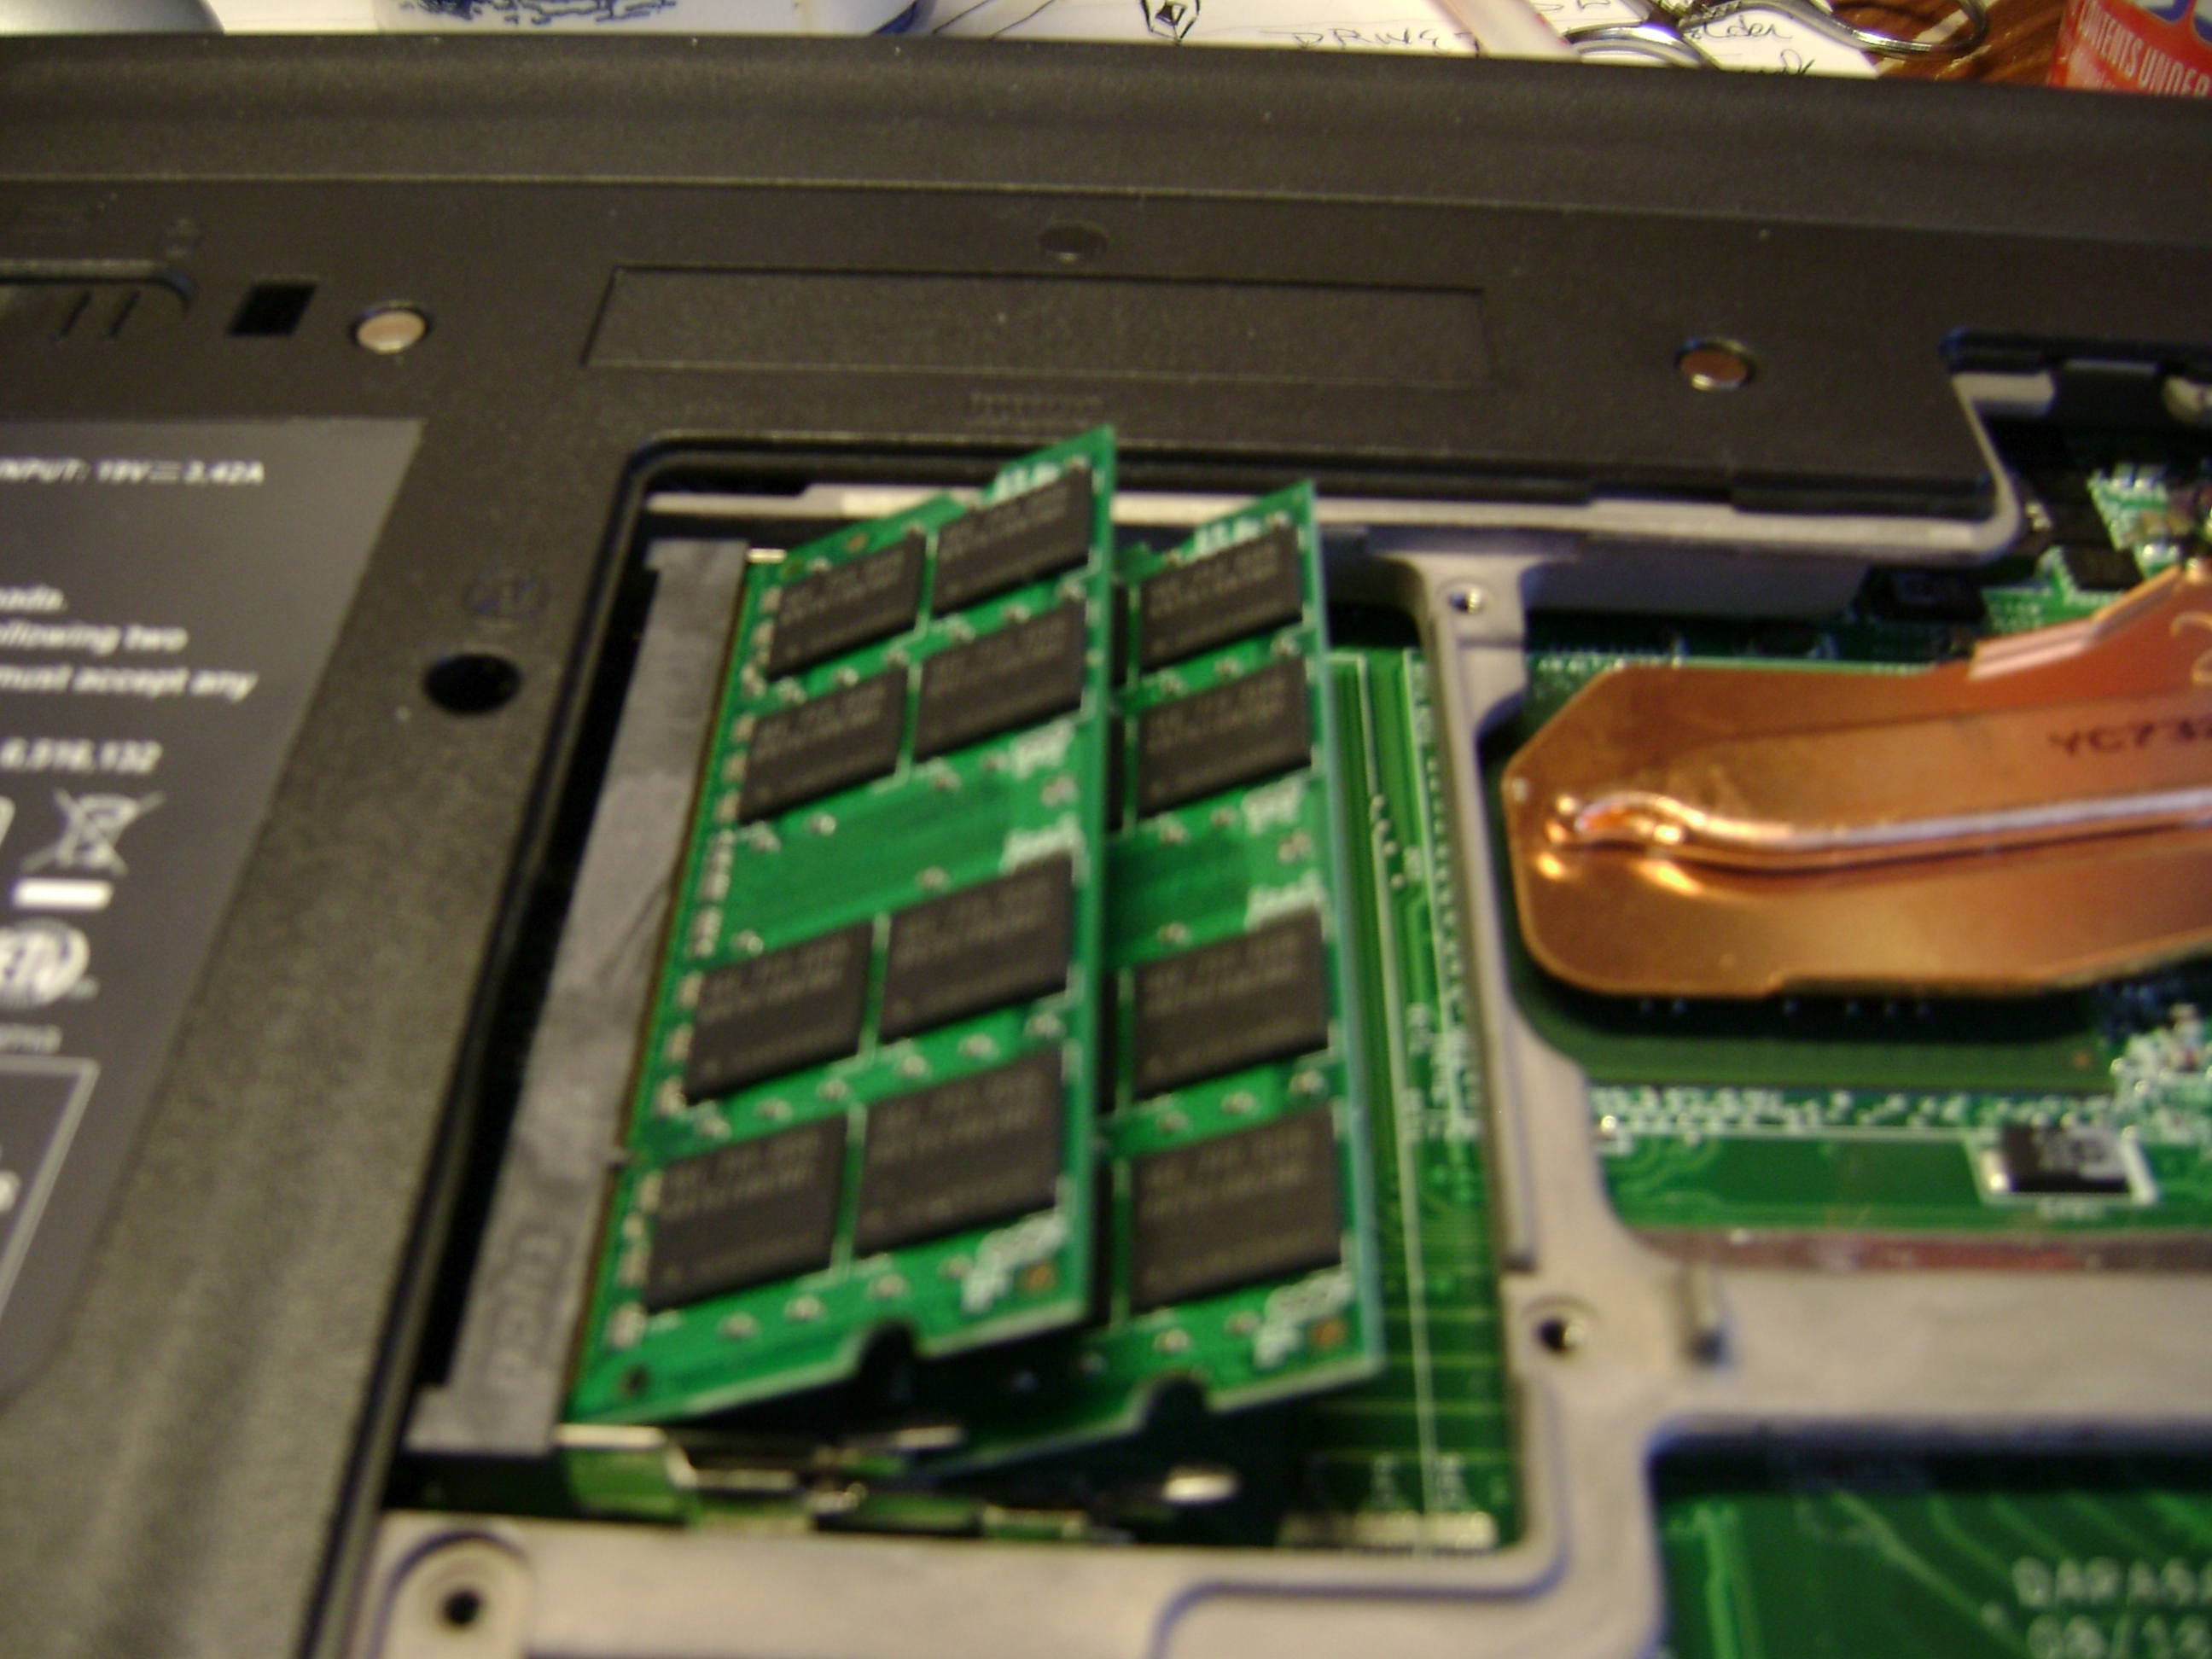
When adding or replacing memory it’s best to use matching sticks. The modules should match by manufacturer, speed, and size. If you can’t find the exact match it’s best to replace all of the modules rather than add a mismatched stick.
Many of the newer systems are using two or three times the memory used in the past. If you have a 64bit system you’ll be able to put it to good use. Portables with 3 gigs of memory are becoming common now and will soon be the norm. The trend is a result of increased requirements of Vista, increased expectations of consumers, and increased capability of 64 bit operating systems. Computer technology is anything but static so I’m sure the trend is here to stay. The increase in size of memory sticks has taken place steadily over the years and is not a sudden shift.
Cord Care
Laptop power cords and power jacks are small and need some special care. Obviously not jerking on them will be a big help. That can ruin the power harness inside the laptop as well as the cord. Making sure the male end of the power cord is inserted straight into your laptop will reduce the wear that sometimes causes broken and shorted cords. Never cover the adaptor/converter that is between your laptop and your power source. It heats up enough without extra help. It should always be in an open and ventilated area. It’s also a good idea to keep the cord where it can’t be tripped over or rolled over with a desk chair. Should you accidentally damage your cord it is possible to repair it. The procedure deserves a “HOW TO” of it’s own so we’ll cover that at a later date.
With a little care and a few courses in anger management, your laptop should give you many years of service. Don’t drop it, throw it, freeze it, heat it or get it wet and all should be fine.


