by David Hartsock for Daves Computer Tips
In a previous article I discussed items that one should put thought into before installing Windows Home Server 2011 along with the decisions I made prior to installing the server OS. To continue on with the WHS theme I think now is a good time to walk through the installation process for those who will buy the software and install it on their own hardware. All-in-all it is pretty straight forward for those who’ve installed a Windows OS before, but there are a few caveats to be aware of.
If you are still considering WHS 2011 be aware that you will need a computer with a 64-bit CPU (most AMD and recent Intel CPU’s fall in this category) and WHS 2011 is a 64-bit operating system. You can also save yourself some future headaches by planning carefully for your storage needs, both now and in the future.
Windows Home Server 2011 Minimum Requirements
Let the installation begin! Server 2008 first.
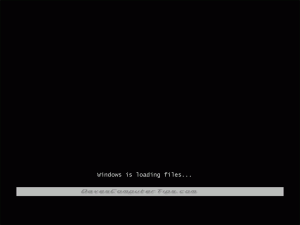
WHS 2011 is like any recent Microsoft OS and can be installed from DVD or flash drive. As installation begins you are presented with the common “Windows is loading files…” screen. Nothing new here.
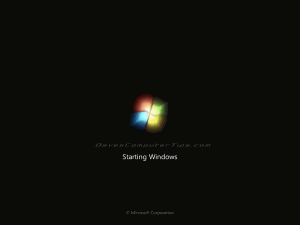
Next up is “Starting Windows”, which is a little misleading as the installation is just starting!
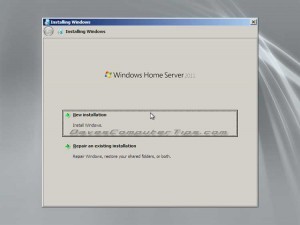
After a few moments for the installation routine to load files you are given options for New Installation and Repair an existing installation. It’s important to note that the installation media (DVD or flash drive) can also be used to repair a previous installation that is borked, just like the screen shows. In this instance we are performing a new installation.
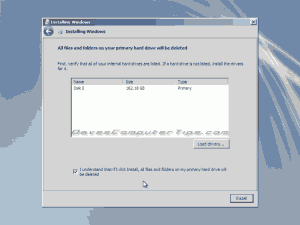
Next up you’re asked where you want to install the OS. In this example I only have one 160GB drive (the minimum) installed. Since this is a new installation all of the data on the drive will be deleted.
This is a good sign! Sit back and enjoy a refreshing beverage for 15 or 20 minutes.
Article continued here
This excerpt is shared with permission from davescomputertips.com.

