Congratulations on purchasing PC Matic VPN, one of the fastest and most secure VPNs available, made and supported in the USA. Now that you’ve taken the first step toward protecting your online privacy, you might wonder how to get started and make the most of your new software. In this post, we’ll guide you through the key benefits of your VPN and provide a simple setup process to ensure you’re up and running in no time.
Why Use the PC Matic VPN?
1. Privacy Protection
Your online privacy is more important than ever. With PC Matic VPN, your online activity is hidden, making it difficult for anyone to track what you’re doing. Whether browsing social media, shopping online or simply checking your emails, your VPN ensures your data remains private.
2. Secure Public Wi-Fi
Public Wi-Fi networks can be a goldmine for hackers and snoopers. A VPN is essential if you’re frequently on the go and rely on public Wi-Fi at airports, cafes, or hotels. PC Matic VPN creates a secure connection, protecting you from those trying to access your data.
3. Enhanced Online Shopping & Travel Booking
Did you know that prices for online shopping and travel services can vary based on your location? With PC Matic VPN, you can change your virtual location to access the best possible prices, ensuring you never overpay for goods or services.
4. Best Possible Internet Speeds
Some internet providers slow down your connection based on your online activity, a practice known as throttling. Because PC Matic VPN hides your activity, you may experience faster and more consistent internet speeds. This means smoother streaming, quicker downloads, and better experience.
Getting Started: How to Install PC Matic VPN
If you haven’t installed your PC Matic VPN, don’t worry—it’s quick and easy to start.
Step 1: Download and Install the Software
Follow the instructions below to install PC Matic VPN on your Windows computer.
1 – Download the PC Matic VPN software. Once downloaded, follow the simple installation instructions.
2 – Double-click on the downloaded installation file to run.
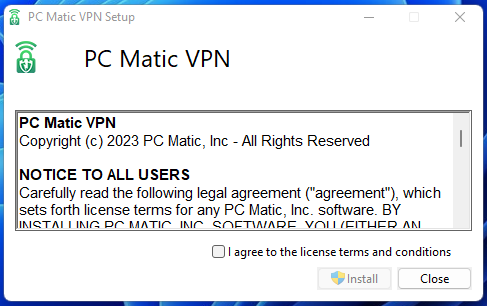
3 – Check the box to agree to the Terms and Conditions and click Install.
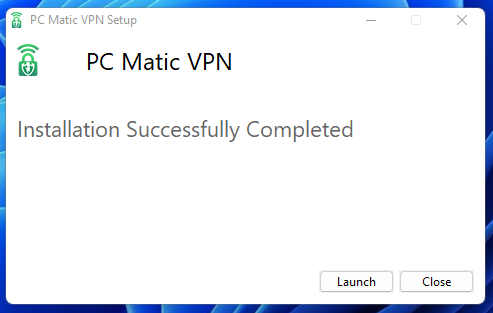
4 – Click Launch when the installation completes.
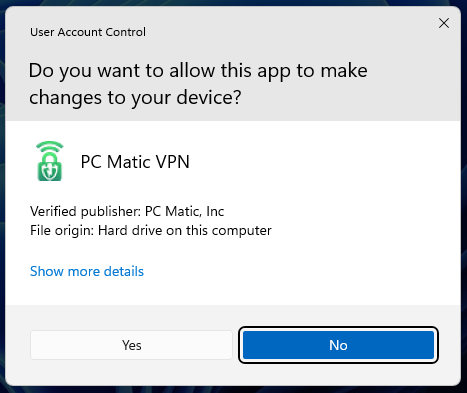
5 – Select Yes in the User Account Control pop-up window.
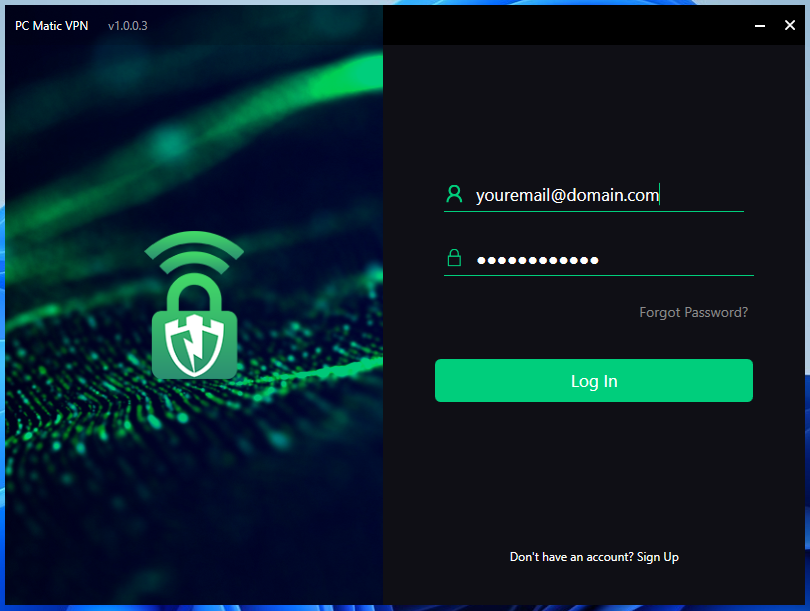
6 – Enter your PC Matic account credentials and click the login button.
For step-by-step instructions based on your operating system, click here.
Step 2: How to Use PC Matic VPN for Windows
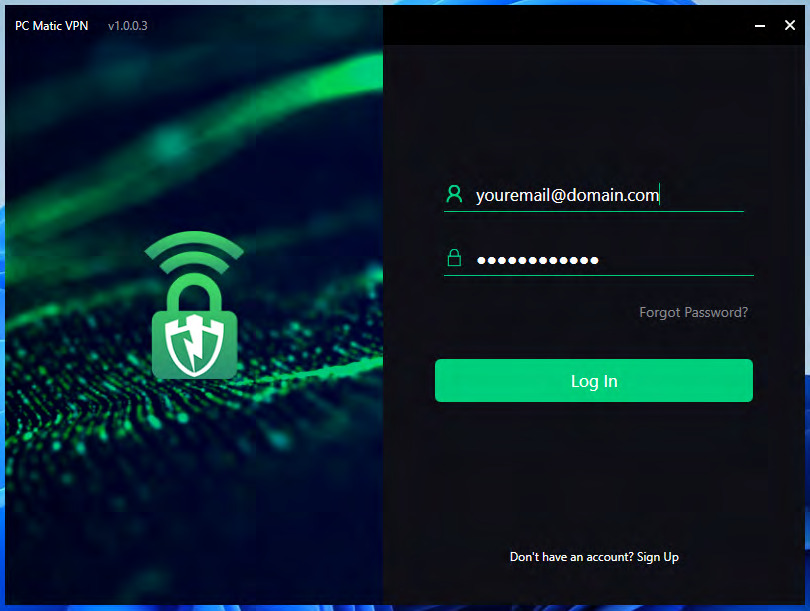
1 – Logging Into the PC Matic VPN App
- Enter the email address associated with your PC Matic account.
- Enter the password for your PC Matic account.
- Click the Log In button.
2 – Connecting to a PC Matic Server
2.1 – Using Quick Connect
Quick Connect will automatically connect you to the best available server.
- To use Quick Connect, click the white Quick Connect button at the top of the window.

2.2 – Manually Selecting a PC Matic Server
You can also view a list of all available PC Matic Servers and select the one you want to connect to.
- Scroll through the list of available servers, or enter a server location in the search box.
- Double-click the server to connect.
3 – Configuring PC Matic VPN Settings
You will find the configuration options for the PC Matic VPN on the Settings page. There are two tabs, General and Connection, with different configuration options. Below we will explain all of the options in detail.
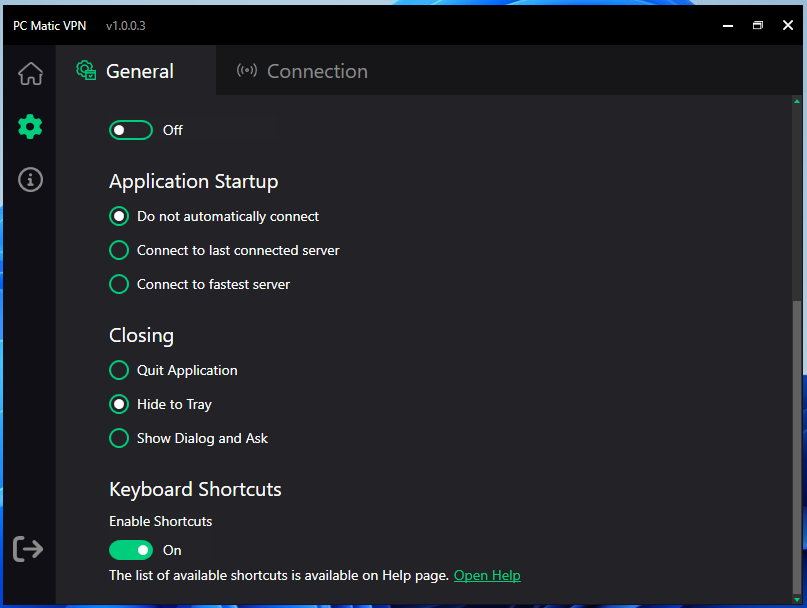
3.1 – General tab
The General Tab contains language, startup, closing options, and keyboard shortcuts.

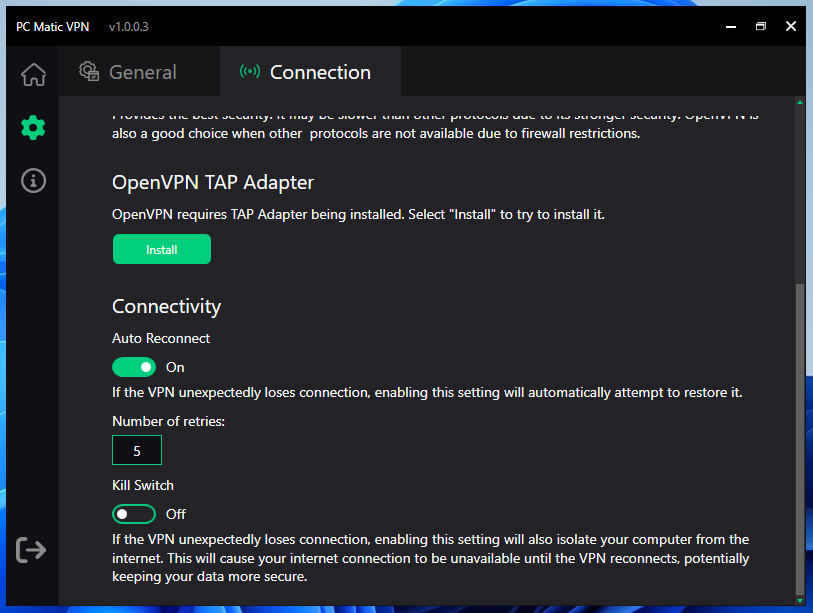
3.2 – Connection Tab
The Connection Tab contains settings for VPN protocols and connectivity options.

4 – Help, Information, and Diagnostics
You can find support on the Information page. There are three tabs, Help, Licenses, and Diagnostics.
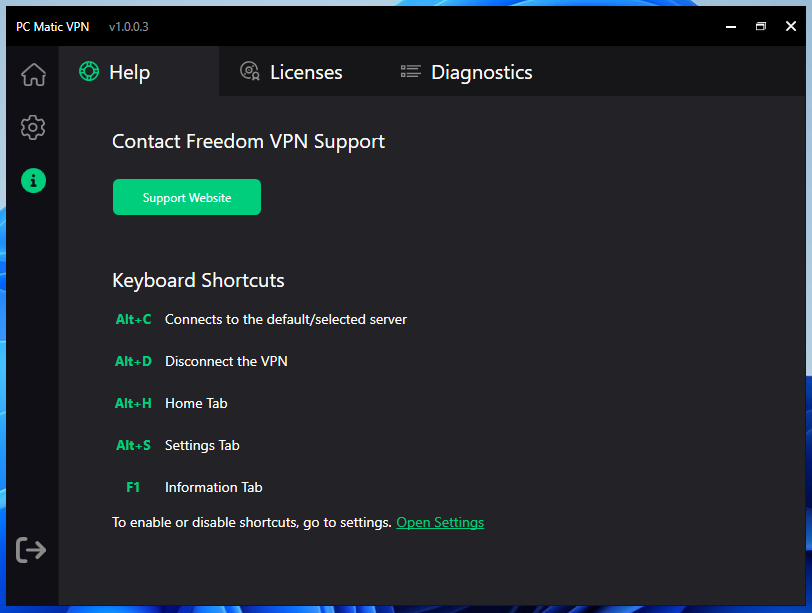
4.1 – Help Tab
The Help Tab contains a link to PC Matic Support and the keyboard shortcuts that are available if toggled.
4.2 – Licenses Tab
Information about the various licenses used in developing the PC Matic VPN.
4.3 – Diagnostics Tab
Diagnostic Log Window:
Highlight, copy, and paste the contents of this log to reply to a PC Matic support ticket.
View Diagnostic Files:
This button opens the folder containing the PC Matic VPN diagnostic log files. You can attach these logs to a reply to our support team.
4.4 – VPN Status
VPN Status Page:
Using this link, you can check the status of our VPN, including the servers, support, and API. If you’re having trouble connecting to the VPN, check this page to ensure there are no performance issues from PC Matic’s side.
Check out this article for more information on using the PC Matic VPN for Windows.
Step 3: Explore the PC Matic VPN User Guide for Other Operating Systems
To get the most out of your VPN, look at our comprehensive User Guide. It’s filled with tips and tricks to enhance your VPN experience.
Need Assistance?
If you run into any issues or have questions, our support team is here to help. You can reach out to us anytime at PC Matic Support.
We’re committed to providing you with a top-notch VPN experience, and we’re excited for you to get started with PC Matic VPN. Enjoy peace of mind, knowing your online activity is private, secure, and optimized for the best possible performance.